AutoHandbrake - DVD ripping wizard
This post is based on a talk a gave at OggCamp 17 in Canterbury last weekend.
At home I run an Emby server to store and stream my music and video libraries, primary to my living room PC which runs Kodi. I’ve got a reasonably large DVD collection which contains an mixture of movies and TV episodes, which I wanted to rip and store on my Emby server. (Note, this post won’t go into the ethics or legality of ripping DVDs, it’s purely a technical discussion).
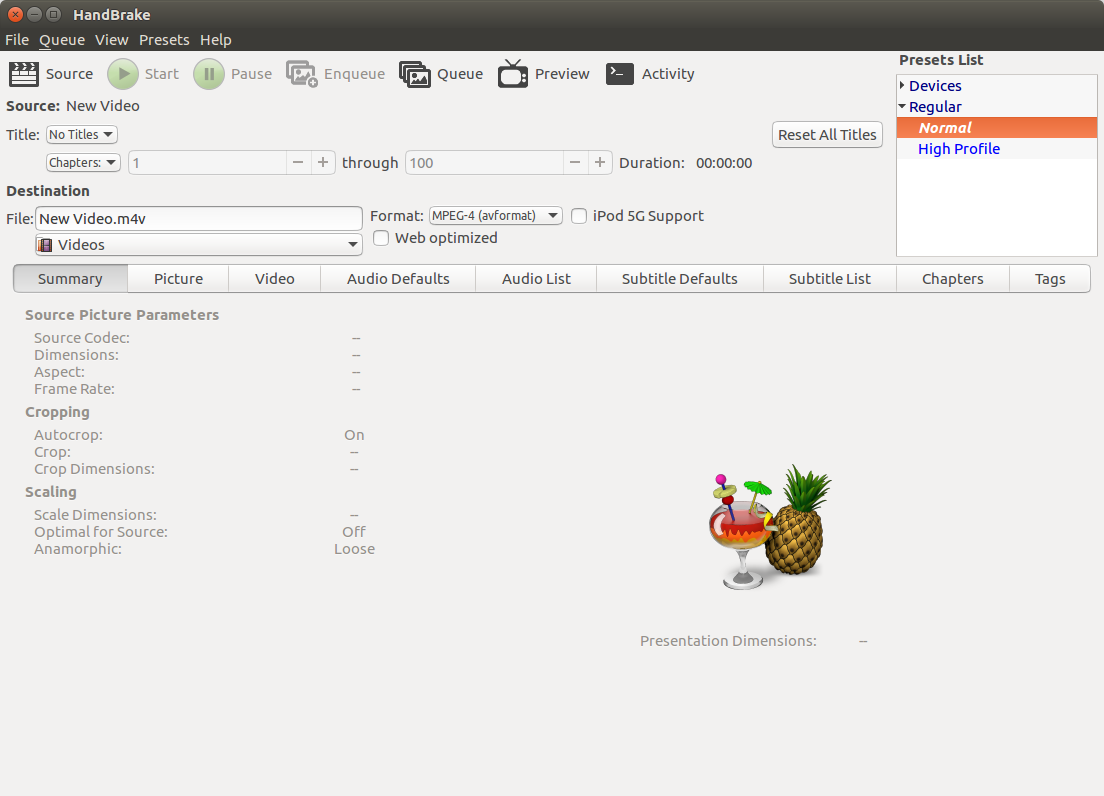
Currently, the state of the art for ripping and encoding video from a DVD on Linux is Handbrake. Handbrake looks like this:
The process for ripping a DVD of TV episodes with Handbrake does something like this:
- Insert your DVD and let Handbrake scan it.
- Select the first title you want to rip.
- Select any subtitle tracks you want to include, and specify the subtitle mode (more in this later).
- If you want non-default encoding settings, select your encoding preset.
- Enter the name for the output file, including any episode numbers.
- Add it to the queue.
- Repeat all of the above steps for each episode on the DVD.
- Run all the jobs in the queue.
- Discover you forgot the change the episode number on one of the episodes and overwrote the previous file.
As you can see, doing this for a large number of DVDs is quite labour-intensive, and the Handbrake GUI doesn’t do you a lot of favours. Handbrake also includes a command-line interface which lets you specify all of the settings mentioned above as command-line arguments. However, this requires you know things like tile and subtitle track numbers for what you want to rip.
My solution to this has been to write AutoHandbrake (autohb for short). This is a tool written in Ruby, which uses HandbrakeCLI to find out what’s on a DVD, then present you with a series of questions, and generate HandbrakeCLI commands to rip all the titles you want with the same settings.
The first thing AutoHandbake does is work out what’s on the DVD. To do this, it extracts the list of titles, and performs some analysis of the number and duration. In the case of a movie, you usually have a single long title with the “main feature” flag set. In the case of a set of TV episodes, you usually have between 4 and 8 similar-length titles, along with one “main feature” title that is around the same length as the all the similar-length titles added together (this is the ‘Play All’ option). The script will try and work out which one it’s got, then tell you what it thinks and ask you if it’s correct.
![Screeshot of Auto Handbrake, with the text "Single main feature found: Title 1 [41 minutes and 49 seconds]. Rip this feature?", options "Yes" and "No"](/wp-content/uploads/2017/08/autohb1.png) In this case, the DVD contains a set of TV epsiodes, but the ‘Play All’ title isn’t marked as the main feature, so it’s decided the DVD contains a single feature. This is wrong, so selecting “No” will allow you to correct it.
In this case, the DVD contains a set of TV epsiodes, but the ‘Play All’ title isn’t marked as the main feature, so it’s decided the DVD contains a single feature. This is wrong, so selecting “No” will allow you to correct it.
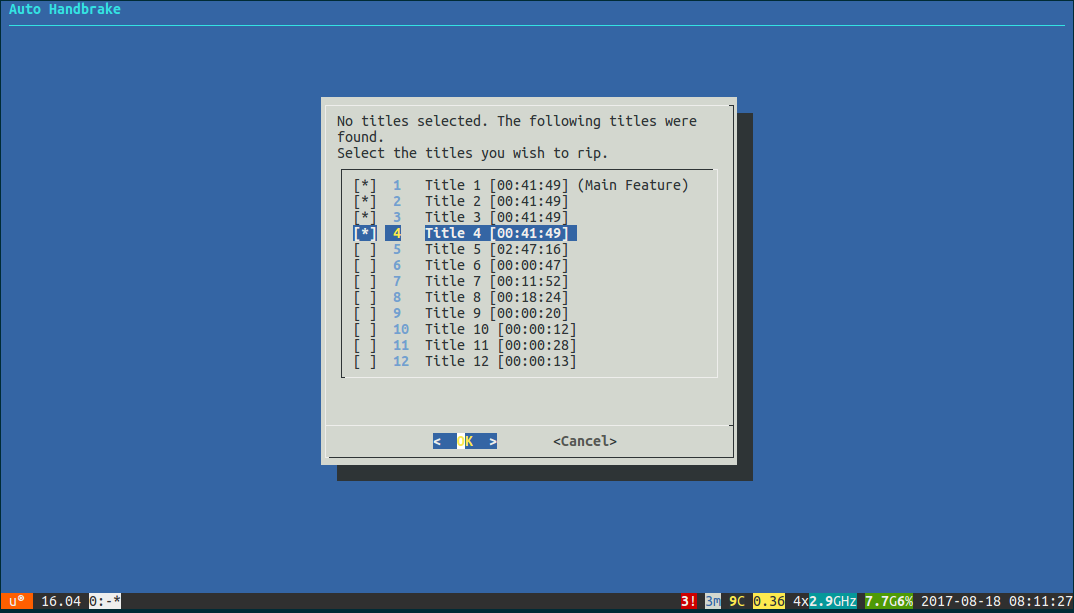
Here we get a list of titles to select. The original iteration of AutoHandbrake simply presented command-line prompts, and you typed in the numbers of the titles you wanted. However, I now use a tool called xdialog (via the rdialog ruby gem), which lets you easily display a curses interface for the required prompts when you run from the command line (as I usually do). As an added bonus, if you’re running in a desktop session, you get a proper GUI instead, like this:

Once we’ve selected the titles we want to rip, we want to choose which subtitles to use.

By default AutoHandbrake will try and autodetect subtitles in the default language. It will also rip use the “forced only” flag, (only include subtiltes where a character is speaking in a different language) and the “burned in” flag (encode the subtitle text directly onto the video, rather than just including the track in the file). It’s fine to accept these options, but for some reason auto-detecting subtitles requires handbrake to scan through the whole title and extra time. Answering “no” here lets us specify the track ourselves.
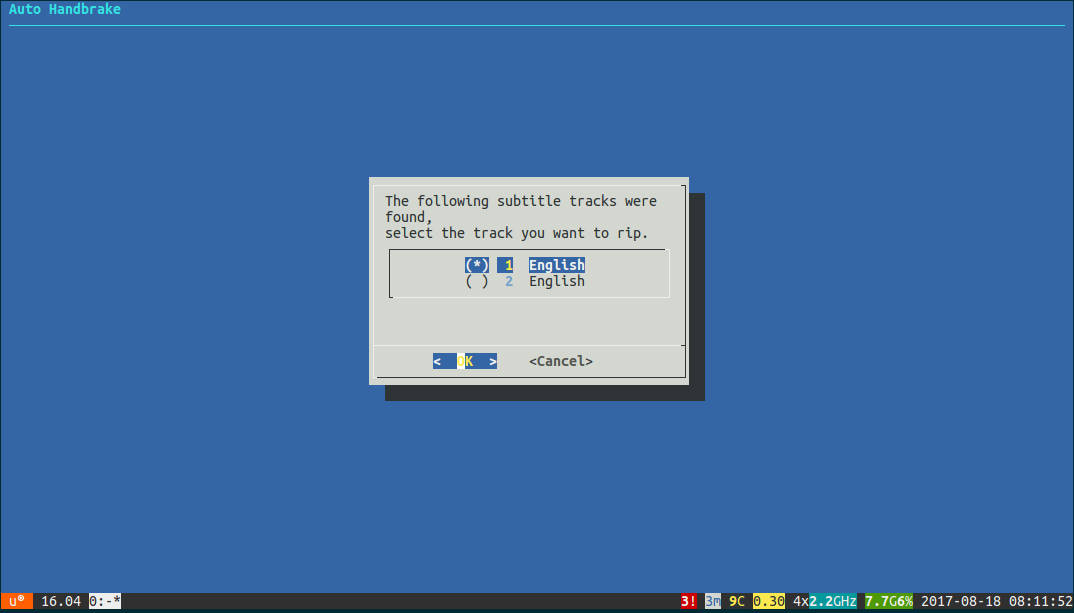
Sometimes you’ll have options for several languages. Often there are more than one “English” options. I always just choose the first one, and I’ve never had a problem.
 Next we’re asked to enter a title. This will be used to name the destination folder for the ripped files, and the start of the filenames (the whole filename if we’re ripping a movie). The DVD has a “title” field in its metadata which will be used as the default value. Sometimes this is spot on, usually it just needs a bit of fixing, but sometimes it’s complete nonsense. I’ve also had some interesting results here; for example, the first “Star Trek” film in the alternative timeline has the DVD title as “Start Trek XI”.

If we’re ripping a set of epsiodes rather than a single movie, we’ll be asked for the season number. This will be appended to the file name in the format “S##”, so if we enter a number less than 10 it will have the leading 0 added.
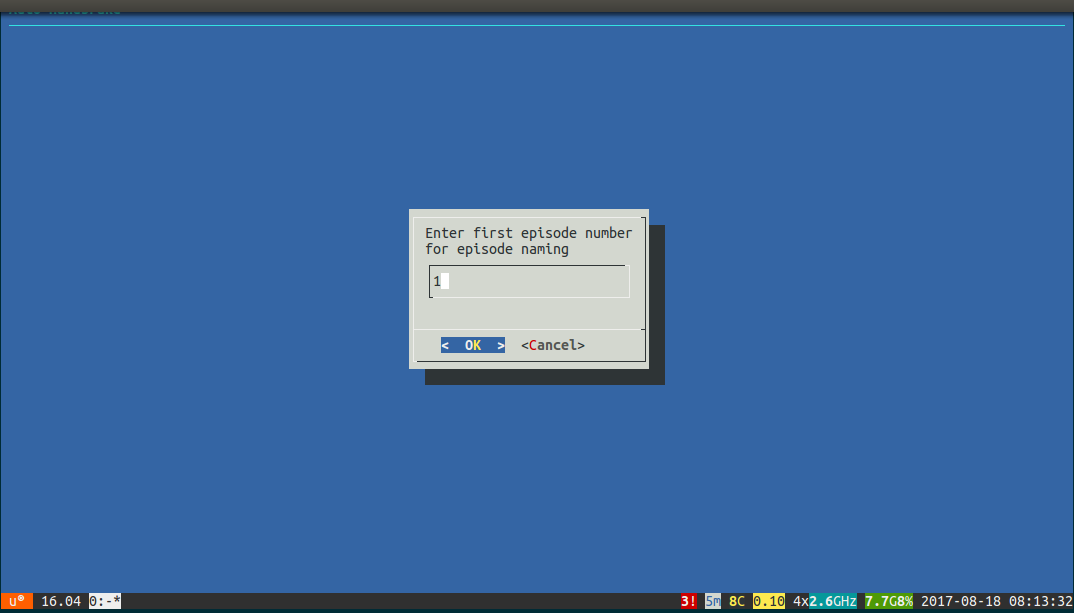
The final input is for the first episode number on the disc. If you have 4 episodes starting with episode 5, entering 5 here will auto-number the episodes 05, 06, 07 and 08. Combined with the title and season number, this gives us file names that looks like “Stargate SG-1 S10E02”.
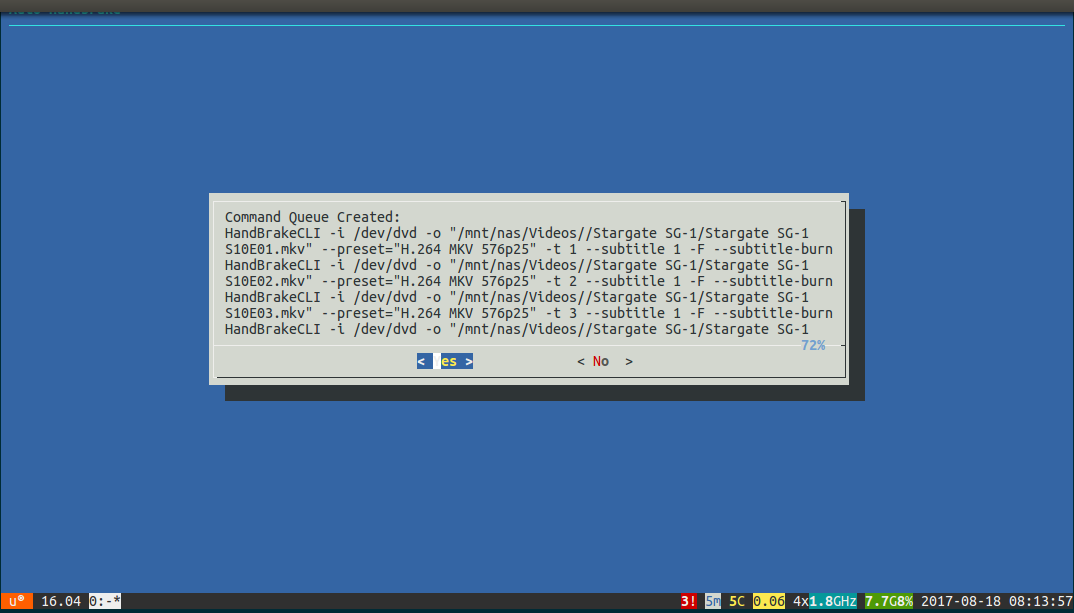 Now we’ve got our queue of HandbrakeCLI commands. We can check that we’ve selected the right options, and the generated titles are as we expected. Selecting “Yes” here will run the commands and rip the videos!
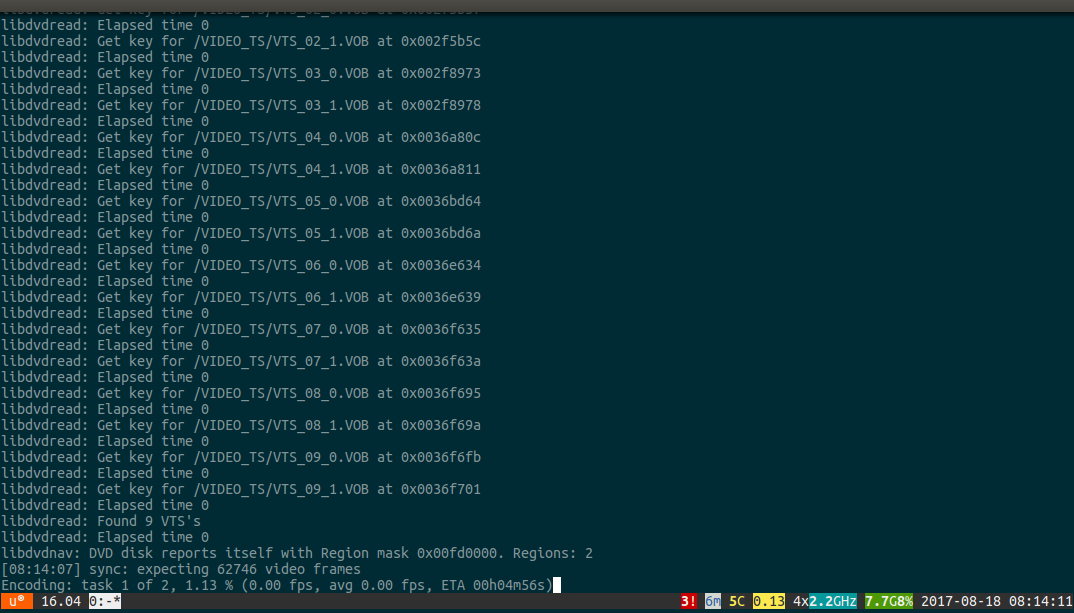 This part of the process could do with some improvement. Currently it drops us to the terminal at this point and we just see the output of HandbrakeCLI. This shows us the time left in the current tasks, but doesn’t really give us an idea of the overall progress. This currently only shows if you’ve run AutoHandbrake from the terminal, otherwise you wont see any output at this point and you just have to wait for it to finish. When its done, the DVD drive will automatically eject the disc.
 There are several options that you can specify a when invoking AutoHandbrake. The input device and output directory are the only ones that are really required. If you know what you want to rip, the rest of the arguments allow you to specify things like the title and season number in the command, in which case it wont ask you for them later.
Another interesting option is “min-duration”. Some publisher will fill the DVD with junk titles of a few seconds long, presumably to make it harder to find what you want to rip. By specifying a minimum duration of a few minutes, you can have Autohandbrake ignore these shorter titles, giving you just the likely candidates to choose from.
You can see, download an contribute to AutoHandbrake on Github.